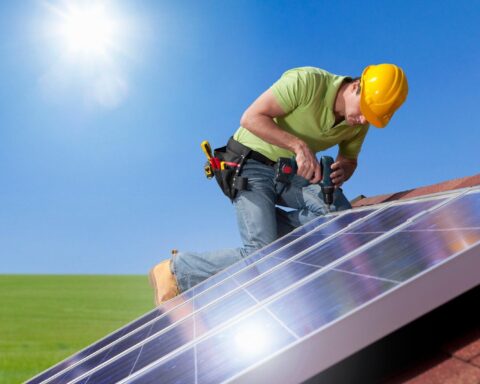
Are thinking about switching to solar?
Great! Solar energy is a fantastic way for homeowners to reduce their carbon footprint and energy bills. However, the solar panel installation requires careful planning and execution.
Ensuring that your solar panel mounting rails are properly installed and secured is crucial for the efficiency and longevity of your solar power system. In this guide, we’ll walk you through the process step-by-step.
Step 1: Gather the Necessary Tools and Materials
Before you begin the installation, make sure you have all the required tools and materials on hand. You will need:
- Solar panel mounting rails
- Roof hooks or brackets
- Screws and bolts
- A drill
- Measuring tape
- A level
- A pencil or marking tool
- Weather sealing materials
Having everything ready will save you time and prevent any interruptions once you start the installation. Also make sure that the materials are of the highest quality to ensure the durability and effectiveness of your solar panel system.
Step 2: Assess Your Roof
The first step in installing mounting rails is to assess your roof. Ensure that your roof is in good condition and can support the weight of the solar panels. Look for any damage or wear that might need repair before proceeding with the installation.
Additionally, check the orientation and angle of your roof. For optimal solar energy capture, your panels should face south (in the Northern Hemisphere) and be tilted at an angle equal to your latitude. If your roof doesn’t meet these criteria, consider consulting a professional for advice on the best placement.
For example, if you live in the Northern Hemisphere at a latitude of 40 degrees, your mounting rail setup should be tilted at a 40-degree angle and face south. This will allow for maximum sunlight exposure throughout the day.
Step 3: Plan the Layout
Once you’ve assessed your roof, plan the layout of your solar panels. Use measuring tape and a pencil to mark where each panel and mounting rail will go.
Ensure that the rails are aligned and spaced according to the specifications provided by your solar panel manufacturer. Proper spacing and alignment are essential for the stability and efficiency of your solar power system.
Step 4: Install Roof Hooks or Brackets
With your layout planned, it’s time to install the roof hooks or brackets that will hold the mounting rails. These hooks or brackets must be securely fastened to the roof’s rafters to provide a sturdy foundation for the rails.
Use a stud finder to locate the rafters and mark their positions. Drill pilot holes at the marked locations, then attach the hooks or brackets using appropriate screws or bolts. Make sure they are firmly secured and evenly spaced.
Step 5: Attach the Mounting Rails
After the hooks or brackets are in place, you can attach the mounting rails. Position the rails on top of the hooks or brackets and align them according to your markings.
Use a level to ensure that the rails are perfectly horizontal. Secure the rails to the hooks or brackets using the provided screws or bolts. Tighten them securely but avoid over-tightening, as this could damage the rails or roof structure.
If your solar panels are installed in a row, it’s essential to ensure that the rails are aligned and level with each other. This will provide optimal support for the panels and prevent any gaps or unevenness.
Step 6: Seal Around the Fasteners
To protect your roof from potential leaks, it’s important to seal around the fasteners. Apply a suitable weather sealing material, such as roofing sealant or silicone caulk, around each screw or bolt. This will prevent water from entering through the holes and causing damage to your roof.
Allow the sealant to dry according to the manufacturer’s instructions before proceeding with the installation. Don’t make the mistake of skipping this step, as it could result in costly repairs down the road.
Step 7: Double-Check the Alignment and Security
Before you mount the solar panels, double-check the alignment and security of the mounting rails. Ensure that the rails are level and properly aligned with your initial markings.
Give each rail a gentle tug to confirm that it is securely attached. This step is crucial to guarantee the stability and safety of your solar power system.
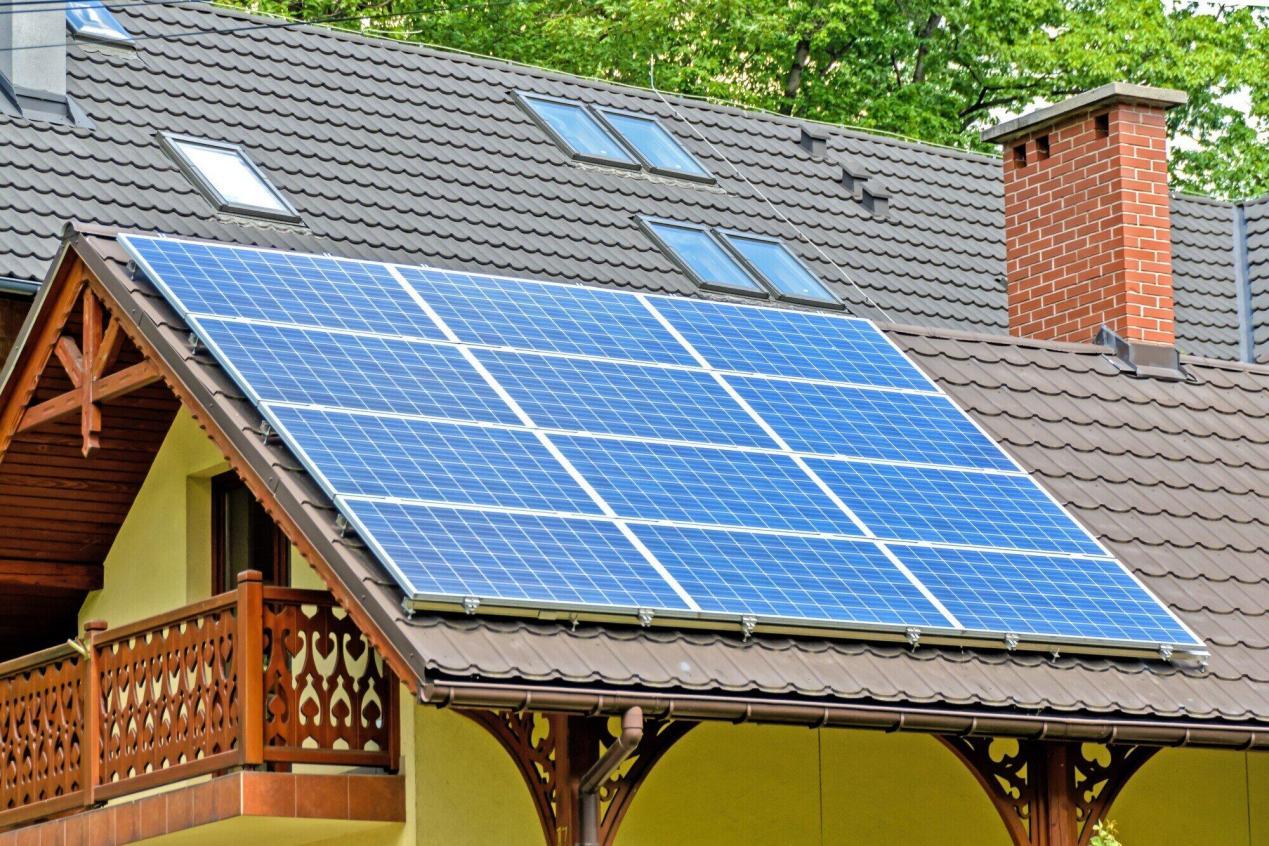
Step 8: Mount the Solar Panels
With the mounting rails securely in place, you can now mount the solar panels. Follow the instructions provided by your solar panel manufacturer for attaching the panels to the rails.
Typically, this will involve placing the panels on the rails and securing them with clamps or brackets. Make sure each panel is firmly attached and aligned with the others. This will ensure an even distribution of weight and optimal performance.
Step 9: Connect the Electrical Components
After mounting the solar panels, it’s time to connect the electrical components. This step should be performed by a qualified electrician to ensure safety and compliance with local regulations.
The electrician will connect the panels to an inverter. This converts the direct current (DC) produced by the panels into alternating current (AC) that can be used in your home.
They will also connect the system to your home’s electrical panel. They will install any necessary safety devices, such as circuit breakers or fuses.
Step 10: Test the System
Once the electrical connections are complete, it’s time to test your solar power system. Turn on the inverter and check the output to ensure that the system is generating electricity as expected.
Monitor the system for a few days to confirm that it is operating efficiently and that there are no issues with the installation. If you notice any problems, consult your installer or solar panel manufacturer for assistance.
Once everything is settled, you can now unlock solar savings for your Minnesota home. You can enjoy the benefits of renewable energy, reduce your carbon footprint, and potentially save on your energy bills.
Solar Panel Mounting Rails: Your Way to a Newer, Greener Future
Installing solar panels is an investment that requires careful planning and execution. By following the steps outlined above, you can ensure that your solar panel mounting rails are properly installed and secured for optimal functioning of your solar power system.
So go ahead and make the switch to solar. With the right installation, you can reap the benefits of renewable energy and contribute to a greener future for all.
Did you find this article helpful? If so, check out the rest of our site for more. Essential Tribune