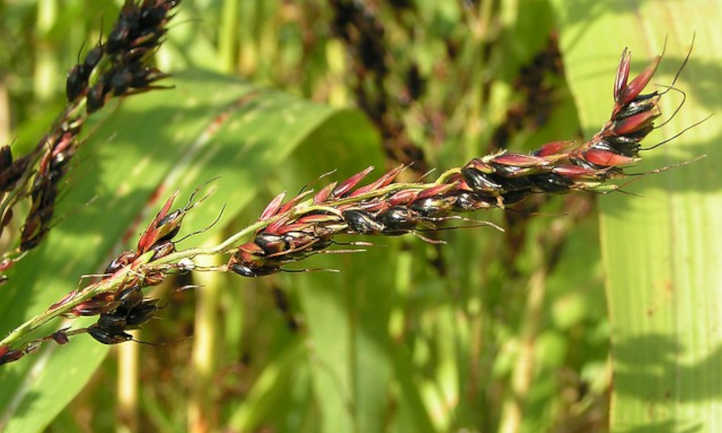
Gardening enthusiasts, rejoice! If you’re looking to add a nutritious and versatile grain to your home garden, look no further than milo. Also known as sorghum, this drought-resistant grain is not only easy to grow but also packed with health benefits.
Read on to learn some tips and tricks on planting milo in your garden.
1. Choose the Right Variety
Selecting the right variety of milo is crucial for a successful harvest. There are several types of milo, including grain sorghum, sweet sorghum, and broomcorn. Grain sorghum is best for those interested in harvesting the grain for consumption or livestock feed.
Sweet sorghum, on the other hand, is ideal for making syrup due to its high sugar content. Broomcorn is used for crafting brooms and ornamental purposes. Research the varieties that grow best in your region’s climate and soil conditions to ensure optimal growth and yield.
Consulting with local agricultural extension services or experienced gardeners can provide valuable insight into the best choice for your specific needs. Planting milo in the right variety will set you up for a successful and bountiful harvest. The best grain must also be selected for the soil type.
2. Prepare the Soil
Milo is a garden that requires careful planning and soil preparation to be successful. Milo thrives in neutrally pHed, well-drained soils. To increase the soil’s drainage and nutrient content, supplement it with organic matter, such as compost or manure, before planting.
Till the soil thoroughly to loosen it up and remove any rocks or debris that may hinder growth. Adding a layer of mulch can also help retain moisture in the soil and reduce weed growth.
Using a grain spawn bag is ideal for growing milo, and it can be directly placed in the ground or raised beds. This method helps maintain moisture and temperature levels while also providing necessary nutrients to the plant. It is also a great option for those with limited space or those looking to grow milo in containers.
3. Planting and Maintenance
Milo can be planted in either rows or broadcasted, depending on the space available and personal preference. Sow the seeds at a depth of 1-2 inches and about 3-4 inches apart. Ensure adequate spacing between rows to allow for proper air circulation and prevent overcrowding.
Keep the soil consistently moist but not waterlogged, especially during the germination period. Once established, milo is relatively drought-resistant and can withstand hot and dry conditions. H
Be sure to get rid of mold growth from the grains as they can be toxic to livestock. Also, keep an eye out for pests and diseases and take appropriate measures to prevent or control them.
4. Harvesting
Milo is typically ready for harvest between 90-120 days after planting, depending on the variety and growing conditions. The grain can be harvested when the seed heads turn from green to a yellowish-brown color and feel firm to the touch.
The easiest way to harvest milo is by cutting the seed heads with a sickle or pruning shears, leaving about six inches of stem attached. Hang them upside down in a cool, dry place to allow for further drying and then remove the grains from the seed heads by rubbing or threshing.
Learning Best Ways When Planting Milo
By following these tips and tricks, you can add milo to your home garden and enjoy its numerous benefits. Milo is a valuable addition to any garden. Planting milo not only adds diversity to your crops but also contributes to a more sustainable and self-sufficient lifestyle.
Did you find this article helpful? Check out the rest of our blogs Essential Tribune!


